Saturday, April 7, 2012

How our street rolls

Toby and Julianna came for a visit today. There was a lot of action out on the street so we gathered seats and treats and watched from the garage.

There was street sweeper.

And a red truck.

And a white truck.

And a yellow tanker truck.

The white dump truck backed up to a green thing. . .

and dumped in some asphalt. Then the green thing spread it.

Then there was a roller machine rolling right behind.

There were lots of men in hard hats and yellow vests making sure that asphalt ended up in the right places.

The roller guy didn't roll over just once. No, he rolled frontwards and then backwards many times and fast.

In no time they had passed right on by.

It was most entertaining.

"Hi Grandpa!"

"Did you have to park your car up around the corner until they are done?"

Now for the other side of the street.

The green spreader. . .

had many talents.

Here's the dump truck. . .

bringing. . .


a refill.

Julianna is now an expert on how to. . .


repave a street. The little boy across the street missed all the action but when he got home he quickly brought out his scooter. "Ah," he said. "It's smooth!"

Earlier in the week when they were milling the street in preparation for the asphalt, the sheriff's deputy who had been sitting in his car with flashing lights on the corner, came to my door and scared me. Wouldn't you be scared if a guy with a badge showed up at your front door?

Like many, he was just interested in Glen's garden. He really wanted to know what those tall flowers were called. It's true, you don't see many hollyhocks in Arizona. Then we got on to other things like why are they milling up perfectly good pavement?

Bet you already guessed. The Feds are offering money for street repairs and if you don't use it you lose it. I guess that's why they redid all the perfectly good handicap accessible sidewalk corners last year. Oh, and we aren't plumbed for natural gas, but some parts of town are getting their gas lines replaced. Something about an explosion of a natural gas line in California.

There you have it. Make sure to have your income taxes in the mail by mid April. My grandkids need some entertainment.

Wednesday, April 4, 2012

Early Easter Egg Hunt

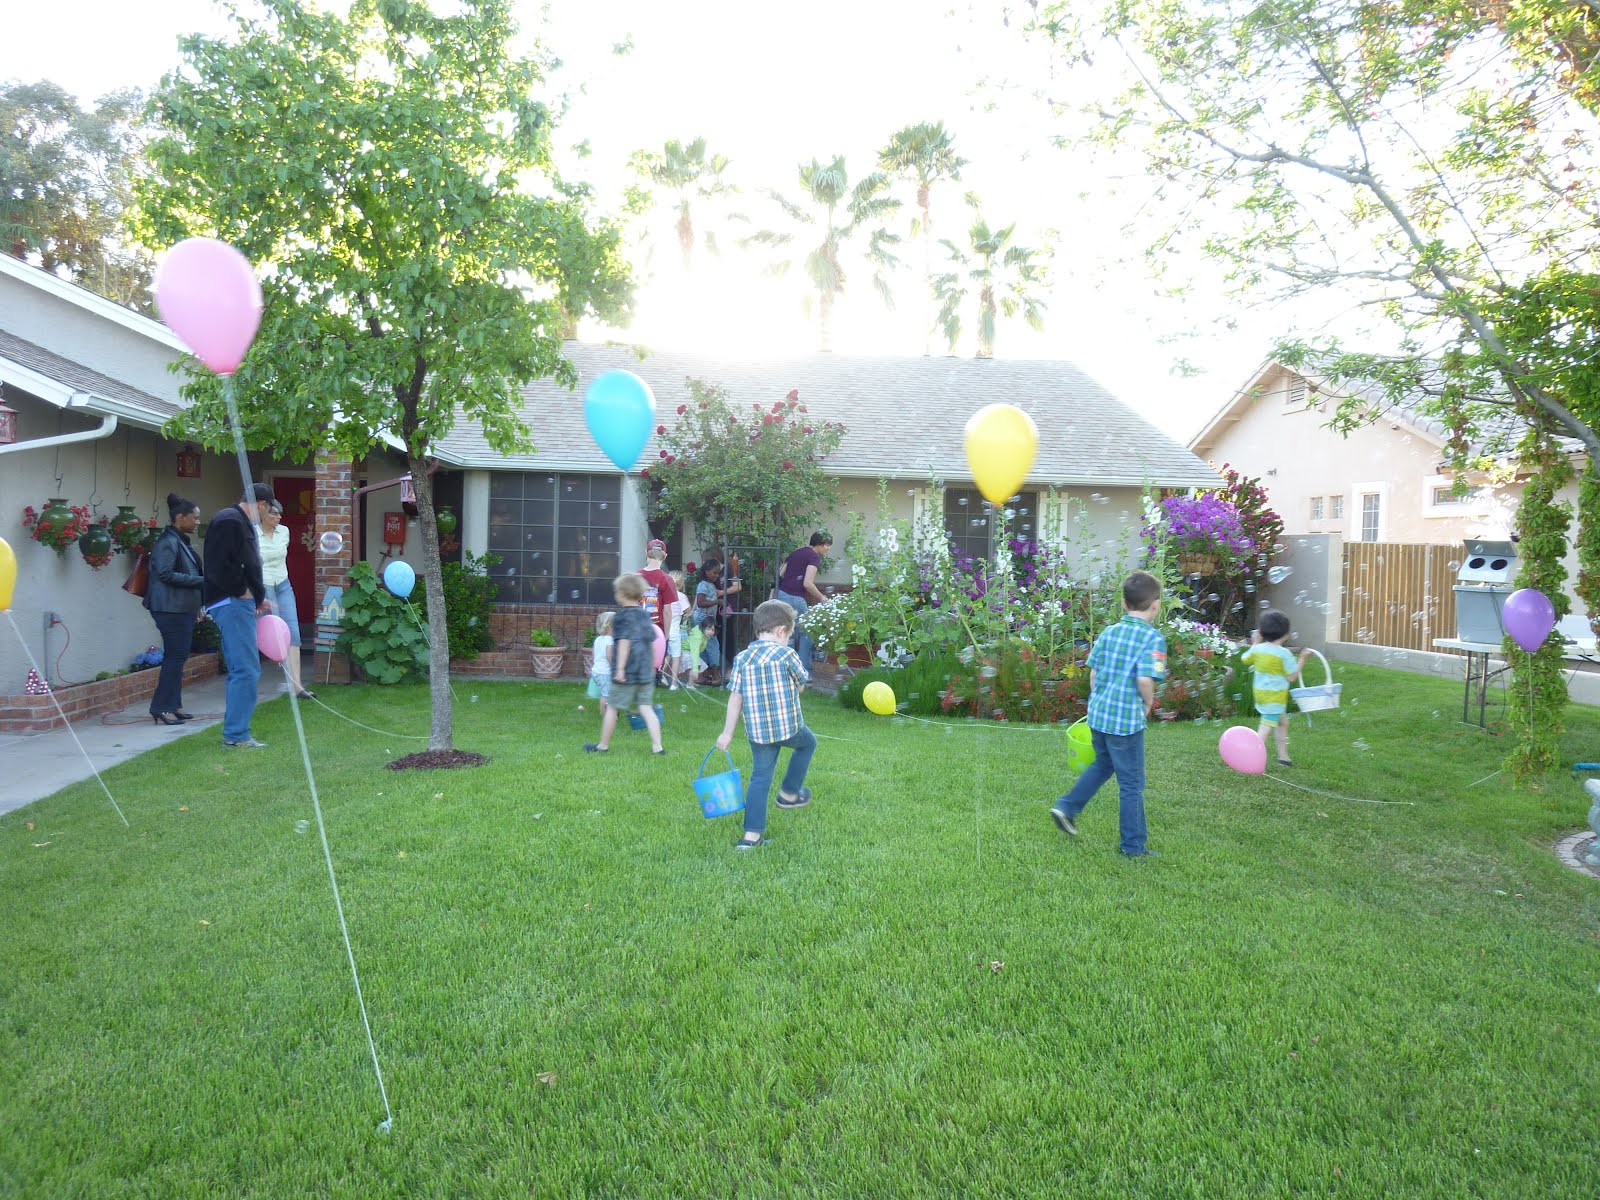
It was the first day of April with Easter just a week away. We are not fools and decided that it was the perfect day for our annual Easter Egg Hunt. Our hunt might be the first of many, but we would be first.

Grandpa Glen ramped it up a bit this year. He added balloons and turned on the bubble machine. Grandson, TJ, spent part of the weekend with us helping with preparations.


He also took care of the bubble machine. It's interesting to move to a new level with the grand children when they help with the activity rather than just come for the activity.

Grandpa Glen also invited the neighborhood children (we've had several move in over the last year of so) and a few friends to join the grandchildren. He lined them up by age and gave them different start times.

My sister Becky brought her granddaughter, Emma, who had an early start time.

Granddaughter Mabel also was an early hunter. Did you notice her bunny bag?


Kid heaven! Balloons, bubbles, and eggs with surprises! Mae's parents loved watching their little cutie at her first walking egg hunt.


Soon the whole line was released to hunt.


Many of the adults watched from the street. Now for some individual pictures of my very cute grands.

Toby

Ruby

Mabel

Sadie

Emma
(almost a grand because I am her great aunt :)

More Mae
(because she is at such a cute age :)

Julianna

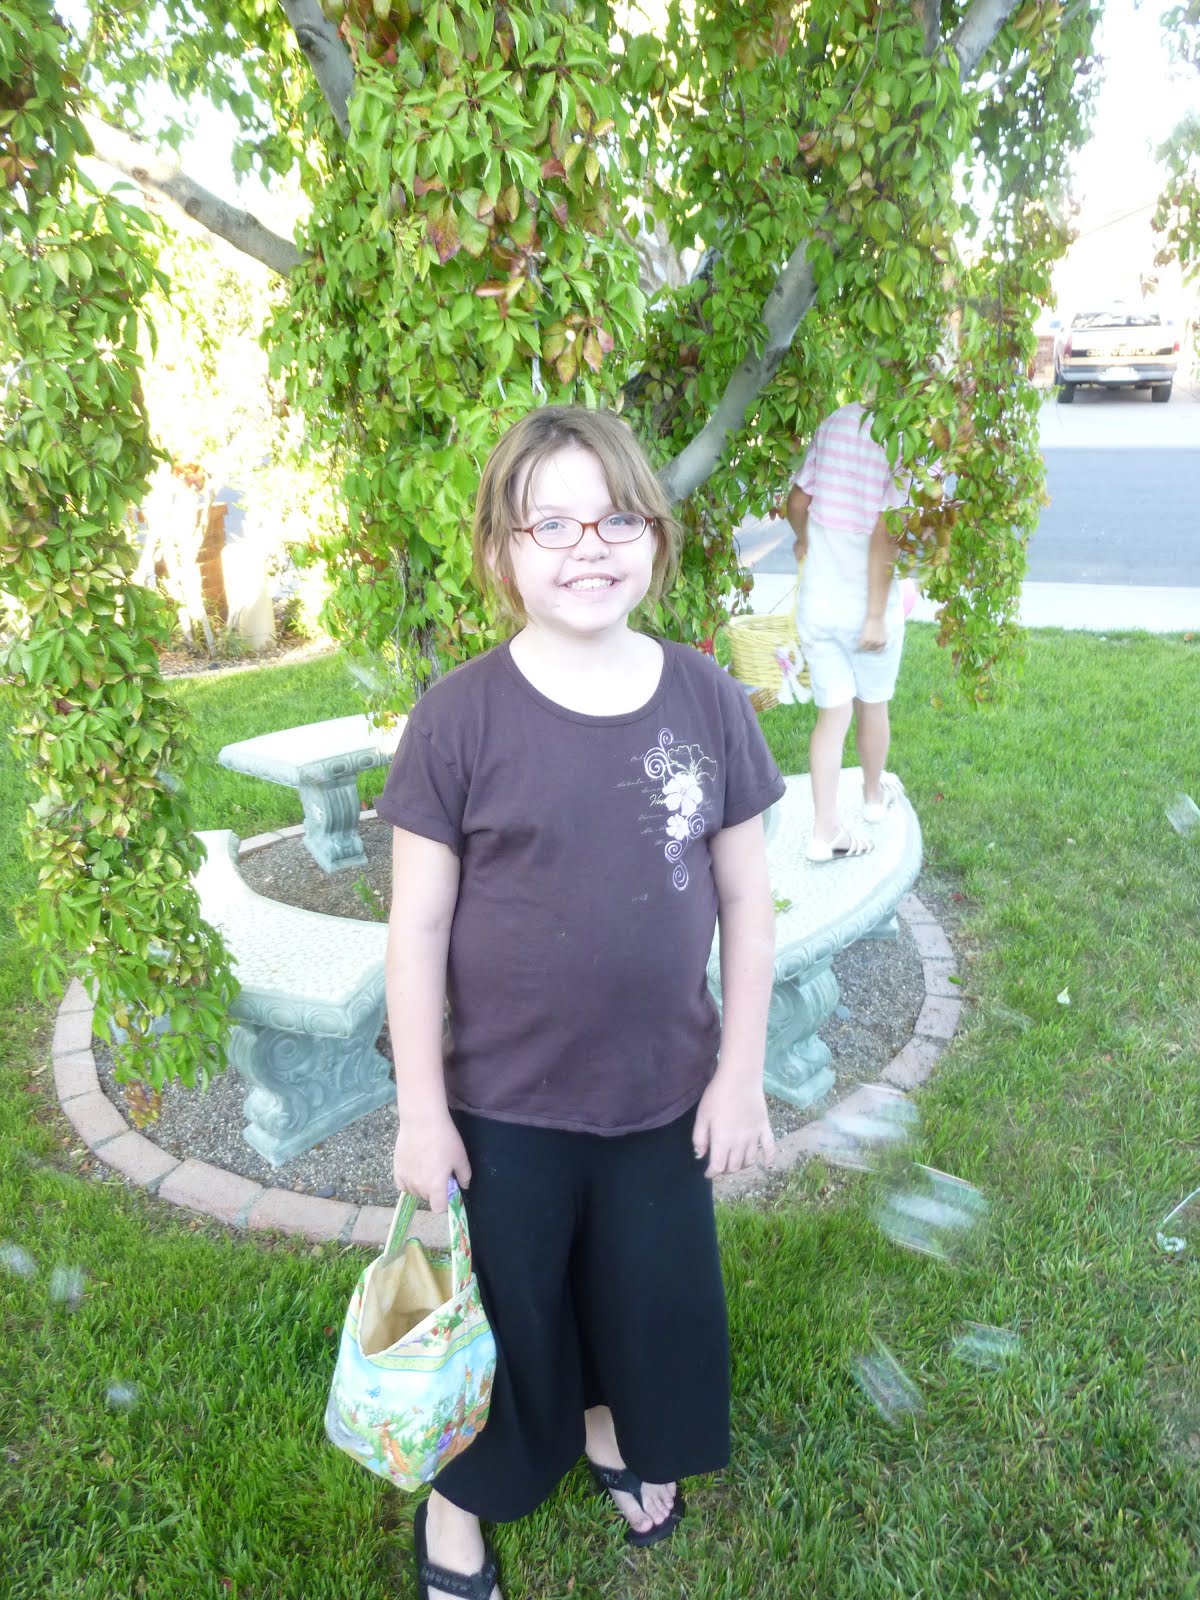
Heather with her new glasses

And TJ, the best helper ever. Did I tell you that he helped fill about 500 eggs? Did I tell you that he also now looks me in the eye?

We had a great time with the neighbors, friends, and family. We really missed those who live away :(

Next year?

Tuesday, April 3, 2012

Apron from left over fabric

I decided to make an Easter apron from the left over bunny bag fabrics and ric rac from another project. It's very cheery!

Yes, the pocket is supposed to look like a flower pot :) The mystery recipient will hopefully receive this apron before preparing Easter dinner and homemade rolls. I put it in the mail today.

Monday, April 2, 2012

Bunny bag tutorial

After Christmas I picked up some darling rabbit and garden inspired fabric on clearance, way on clearance, not knowing how I would use it. This month the inspiration finally came. Bunny bags for Easter. They really turned out cute and the grand kids loved them so I've decided to share how I made them.

You will need outside fabric, lining fabric, a strip of very stiff interfacing, a bit of hook and loop tape, and the bottom half of a gallon milk or water jug.

Mark the jug around the circumference just below the bottom of the handle and cut with kitchen shears. Trace around the bottom of the jug on a piece of paper to make a pattern for the bottom pieces of both lining of outside and lining fabrics including a 1/4 inch seam allowance. Cut one of each fabric. The green bottom is different than my bunny fabric because of the linear nature of the fabric.

Cut a 23 x 10 inch piece of fabric from both outside and lining fabrics. Place 10 inch sides of fabric right sides together and join with a 1/4 inch seam allowance.

Fold your bottom pieces in half and then in half again and finger press marking quadrants. Do the same with the bottom edge of the outside and lining tubes of fabric.

Match up finger pressed lines and pin with right sides together for both outside and lining pieces.

Add more pins leaving rounded corners free.

These will ease in as you sew. Work carefully around the edges sewing a 1/4 inch seam removing pins as you go.

I also finished the edges with a zigzag stitch as I felt this seam would receive more stress.

Do the same with the lining.

Turn the lining so right side is out and insert the plastic jug bottom matching up corners.

Yeah! It stands up straight!

Leave the lining as is and insert inside the bag once again lining up seams and corners.

Pin edges together. The edges should be the same length and fit nicely.

Turn down raw edge, turn once more and stitch along the edge.

Now it is time for the handle. You will also need 2 two inch strips of of the 5/8 inch wide hook and loop tape.

I used the selvage edge of my fabric but this is not necessary. Cut a 12 x 1 1/2 inch strip of stiff interfacing and a 12 inch strip of fabric 3 1/2 to 4 inches wide.

Fold the fabric around to backside and stitch raw side down with the opposite edge folded down for a clean finish.

Stitch again so there are two stitch lines down the middle of handle.

Place handle on side of bag centering it right side down on the seamed line of bag. Place a piece of hook and tape over raw edge of handle and sew down securely covering raw edge.

Center on opposite side and sew other side of hook and loop over the other side of handle. To make this work I had to use the reverse button on my machine to stitch one edge of tape because of the 3D nature of this project. The tape allows the bag to be closed and was also an easy way to cover the raw edge of the handle.

I made six bags.

And to prevent identity theft, I made each bottom a different coordinating fabric.